

DIY Backyard Bar vs. Prefab Tavern: Which Saves You More Time
You've watched enough weekend YouTube tutorials to know a diy backyard bar looks simple in theory. Then reality hits once you start pricing lumber, permits, and plumbing. Maybe you caught that Shark Tank episode and want that same backyard tavern feel without the guesswork. Or you're just tired of hauling coolers out for game day. Either path, DIY or prefab kit, comes with real tradeoffs in cost, time, and staying power. This comparison breaks down exactly which one wins for your 2026 build.
DIY Backyard Bar vs. Prefab Kit: The Real Tradeoffs
What 'DIY' Actually Means Here
Let's be clear about what we're actually comparing. A true scratch-built bar means you're at the lumber yard picking out studs, sketching a layout on graph paper, and renting or buying tools you may never use again. A factory-built structure, on the other hand, arrives pre-cut and pre-engineered, then gets assembled on your patio in a matter of hours. Both get you a bar. The path there couldn't be more different.
Scratch-building means you own every decision, and every mistake. You're sourcing pressure-treated posts, roofing material, screws, and hardware separately, then hoping your measurements line up on-site. Plenty of hobbyists document their builds on r/DIY, and it's worth reading through a few threads before you commit. The gap between "weekend project" and "three-month project" usually comes down to underestimating framing and roofing time. There's no shame in either outcome, but go in with eyes open.
Four factors decide which route makes sense: cost, time, tools, and skill level. Cost isn't just lumber, it's fasteners, roofing, sealant, and the tool rental you forgot to budget. Time isn't just build hours, it's the weekends lost to Home Depot runs. Tools range from a basic drill to a miter saw and post-hole digger. Skill level determines whether "square and level" is a given or a gamble.
Who Each Option Is Best For
If you've framed a deck before, own a truck, and genuinely enjoy weekend labor, scratch-building can save money. It also gives you total creative control. You pick every board, every stain color, every joint. For the mechanically confident dad who already has a garage full of tools, this path can be satisfying rather than stressful. It's also the better fit if your yard has an odd shape or slope that a standardized kit won't handle gracefully.
If you want a finished space this weekend, not this season, a factory-built structure wins outright. Newlyweds juggling a new mortgage and no free time tend to fall firmly in this camp. So does anyone who watched a backyard tavern pitch on TV and just wants that result. No tool rental, no guesswork, no half-finished frame rusting in the rain come October. Browsing a few backyard bar ideas beforehand helps you figure out size and layout before a crew ever shows up.
Honestly, most people overestimate their DIY stamina. That's fine — know it now, not four weekends in.
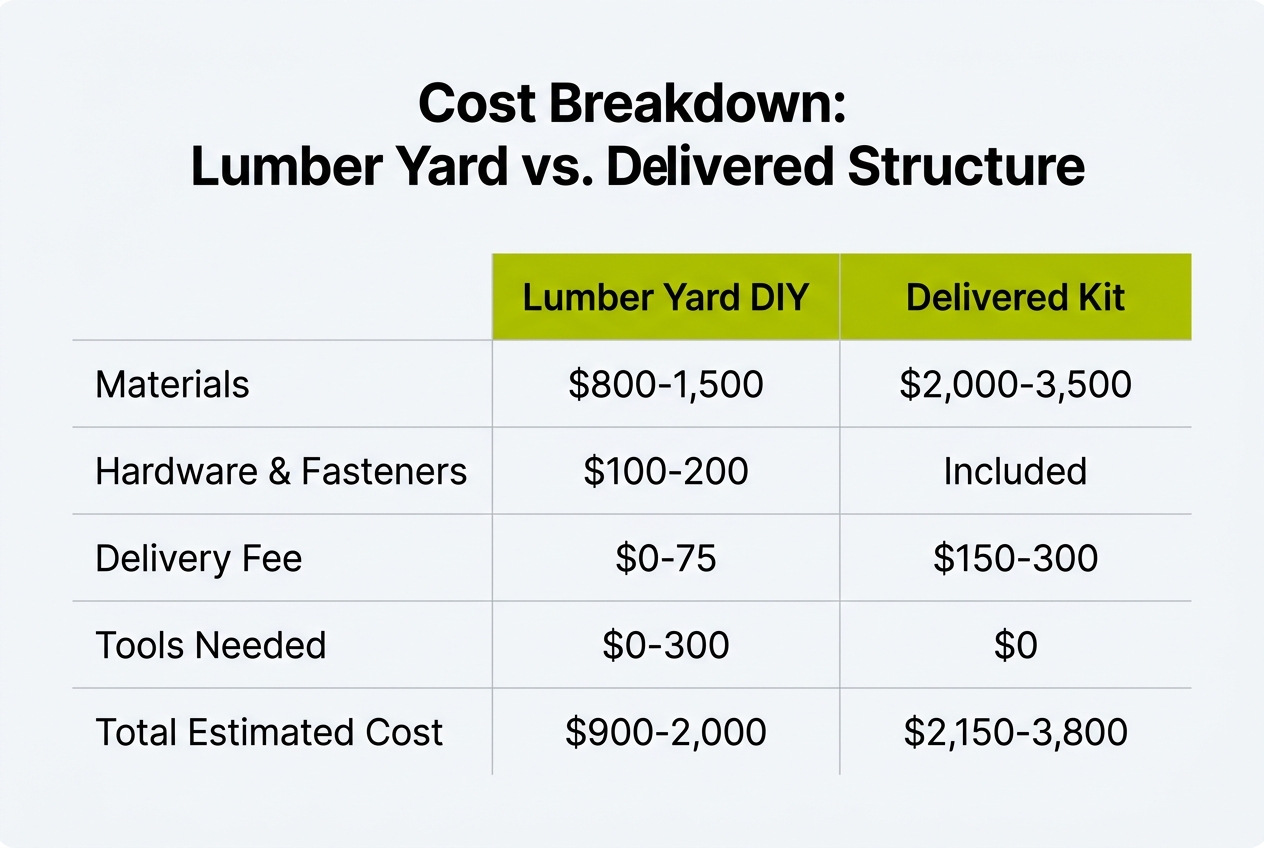
Cost Breakdown: Lumber Yard vs. Delivered Structure
Where DIY Budgets Blow Up
Lumber prices swing hard. Posts, roofing panels, and hardware don't get cheaper just because your project is behind schedule. A stretch of bad weather or a supply squeeze can push a "simple" bar frame's material cost up 20-30% mid-build. That's before you've bought a single stain can or bar top slab.
Hidden costs are where DIY budgets really get blown apart. Tool rental adds up fast: a miter saw, post-hole digger, and framing nailer can run $150-$300 a weekend. Add wasted lumber from cut mistakes, a redo after a post goes in crooked, and possibly a permit fee depending on your town. The "cheap" build starts looking a lot less cheap.
Here's a rough side-by-side using average numbers from recent builds:
| Cost Category | DIY Lumber Yard Build | Delivered/Assembled Structure |
|---|---|---|
| Raw materials (posts, roofing, hardware) | $1,800 - $3,500 | Included in package price |
| Tool rental/purchase | $150 - $400 | $0 |
| Wasted/redo materials | $100 - $600 | $0 |
| Delivery and install labor | N/A (your time, 2-4 weekends) | Included, ~90 minutes on-site |
| Total estimated cost | $2,500 - $5,000+ | $3,500 - $7,000 flat |
The delivered option bundles design, materials, delivery, and installation into a single number. No surprises after checkout. Many local businesses also offer financing, which can spread that flat cost into monthly payments comparable to what you'd spend slowly accumulating DIY materials anyway. If you're still deciding what kind of structure fits your yard, it helps to first understand what is a tiki bar versus a standard backyard bar, since that shapes your materials list. For a broader sense of what a from-scratch project involves, it's worth reading up on how to build the backyard bar of your dreams before committing to a tool list and a lumber order.
Build Time and Skill Level Face-Off
Common DIY Timeline Pitfalls
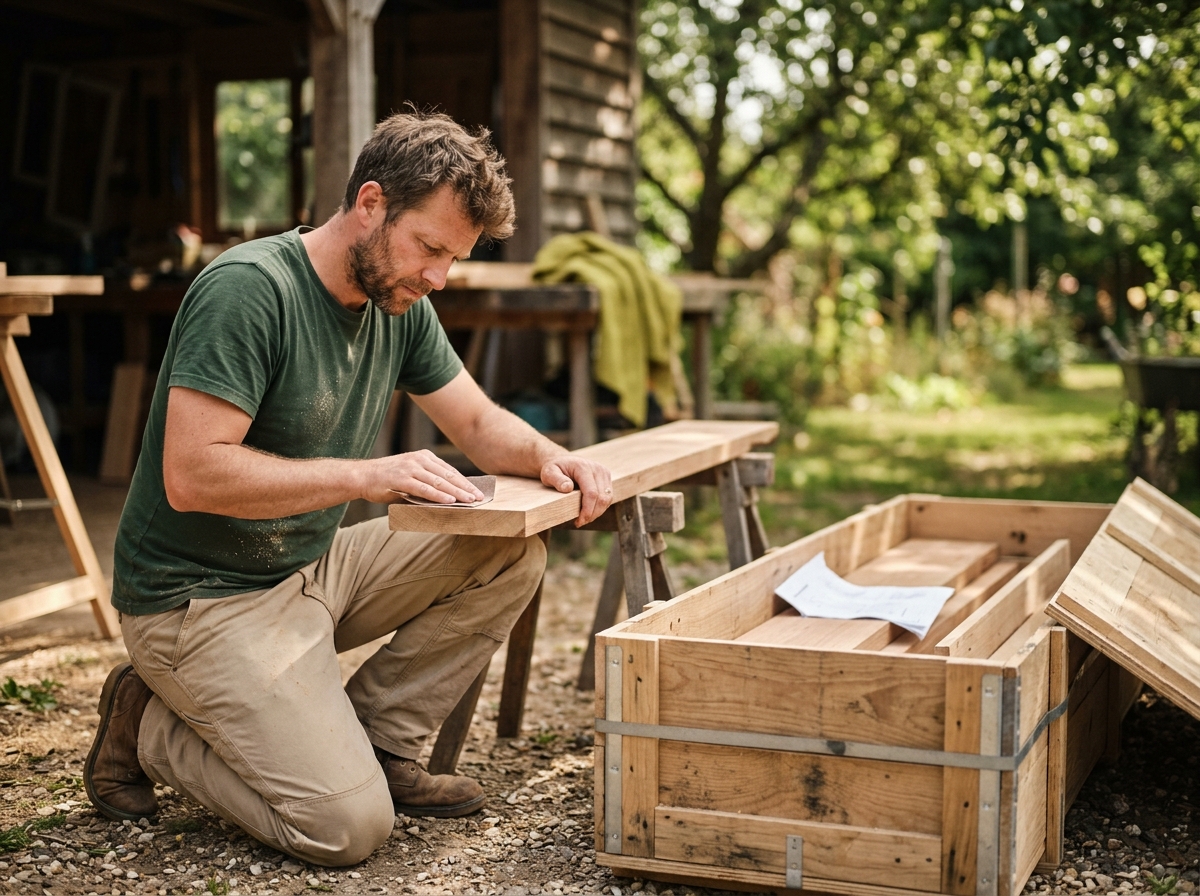
Most people picture a backyard bar as a two-day job. Reality tends to disagree. What starts as a Saturday project often bleeds into a second, even third weekend once you factor in trips back to the lumber yard, rain delays, and the slow realization that your "quick build" needs another set of hands. Anyone who's read up on how to build an outdoor bar from scratch knows the framing alone can eat an entire afternoon before you've even touched the roof.
The real time sink is almost always the same three culprits: measuring and cutting lumber to square, leveling posts in uneven soil, and installing roofing that actually sheds water instead of pooling it. Get the post depth wrong by a few inches and you're re-digging holes in clay or rocky ground, which alone can burn a half-day. Roofing is worse — corrugated panels need consistent overlap and fastening or you'll be chasing leaks come spring.
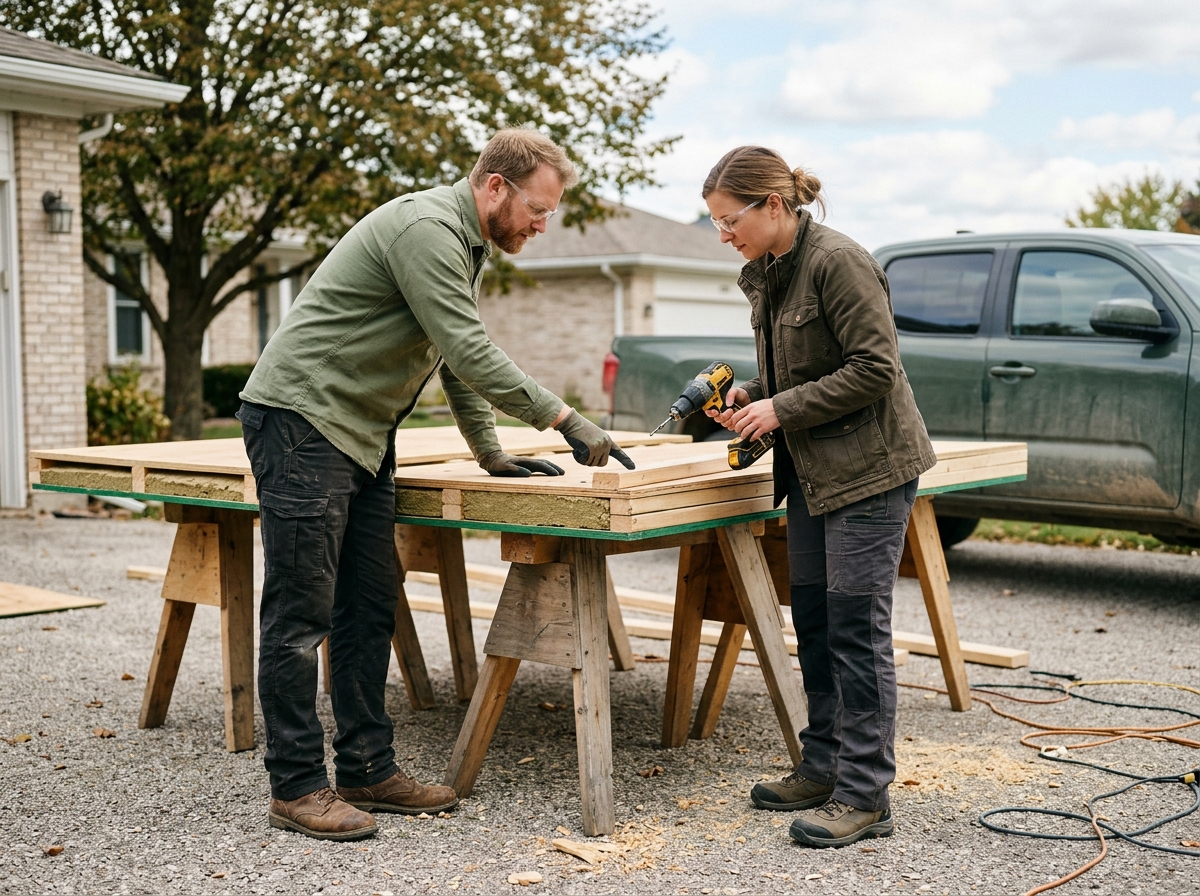
Factory-built structures skip nearly all of this. Posts, panels, and framing arrive pre-cut to spec, so on-site assembly typically wraps up in about 90 minutes rather than spanning multiple weekends. That's not a marketing number pulled from thin air. It's what happens when the cutting and squaring is done in a controlled shop instead of your yard. Skill level tells the same story: DIY demands comfort with a circular saw, a post-hole digger, and a level, while the prefab route mostly asks you to pick a layout and a color. One popular budget outdoor bar build shows just how much sweat equity goes into a scrappy weekend version — impressive, but not for everyone. If you don't own a miter saw and have zero interest in borrowing one, that's your answer right there.
Design and Size Options Compared
Matching Bar Style to Yard Size
Before you pick lumber or a floor plan, figure out which classic layout actually fits your space. The five standard outdoor bar styles each solve a different problem, and picking wrong means redoing framing later. A standup bar works best for tight patios where guests mingle standing. A sit-down bar with stools suits families who want longer hangouts. Split-level, corner, and covered configurations each trade footprint for function in their own way.
One real limitation of going fully custom: if you draft your own plans, you're usually locked into that one layout unless you're willing to redraft and rebuild. Someone who wants a built-in cooler setup, for example, might browse a DIY outdoor bar with built in cooler for inspiration, then realize mid-build that the footprint doesn't leave room for a grill station too. That's the tradeoff with fixed, hand-drawn plans.
Signature and Deluxe Configurations
Tiered product lines solve this by baking flexibility into the sizing itself, rather than forcing a redraft. Instead of one blueprint, you choose a size class up front and adjust details from there. Consider what a small-to-extra-large range with a structural upgrade tier typically offers:
- Small builds fit tight patios or narrow side yards where a full bar footprint just won't work.
- Medium and large sizes give room for stools, a grill station, and a small crowd without overwhelming the yard.
- Extra-large layouts suit dedicated entertaining zones, often paired with a covered roof for shade and rain protection.
- Upgraded framing with thicker posts and deeper roof structure adds wind resistance and a sturdier feel overall.
- Customizable entry sides let you rotate access based on fence lines, gates, or where the grill needs to sit.
- Adjustable roof height accommodates low headroom or, on the flip side, a mounted TV that needs extra clearance.
Shed-bar combos deserve a mention too. They're a smart fix for anyone short on storage who still wants a hangout spot. Honestly, that dual-purpose design solves more real-world problems than most single-use bar plans ever do.
Materials and Weatherproofing Showdown
Not all lumber marked "pressure treated" is equal. Big-box framing packages often use lower-grade #2 or #3 lumber with more knots and inconsistent moisture content, while premium builds spec grade #1 stock that resists warping and rot far longer. Roofing choice matters just as much. Asphalt shingles look familiar but shed granules and degrade under direct sun within a decade. Polycarbonate panels let light through but can yellow and grow brittle in high UV zones. Galvanized corrugated steel costs more upfront but shrugs off hail, wind, and decades of weather without much fuss.
Here's a quick side-by-side of what actually holds up outdoors versus what just looks fine in a showroom photo.
| Material | Typical Lifespan | Weather Weakness | Best Use |
|---|---|---|---|
| Grade #2/#3 treated lumber | 7-12 years | Warping, knot splitting | Budget DIY frames |
| Grade #1 treated lumber | 20+ years | Minimal with sealing | Structural posts, bars |
| Asphalt shingles | 10-15 years | UV granule loss | Sheds, not bar roofs |
| Polycarbonate panels | 8-12 years | Yellowing, brittleness | Light-filtering canopies |
| Galvanized corrugated steel | 25-40 years | Rare, with proper coating | Full weather exposure |
Weatherproofing isn't optional, it's the whole game. Sealing raw wood ends, adding flashing where roof meets frame, and anchoring posts against wind gusts all matter more than paint color. If you're hunting for layout inspiration before you commit to materials, browsing INDOOR AND OUTDOOR BARS HOMEMADE ideas can help you picture how rooflines and framing hold up in real backyards, not just catalog renders. Skip the sealing step and even good lumber fails early. That's just physics, not opinion.
Winter adds another layer. Removable winterize panels paired with grade #1 pressure-treated lumber and galvanized steel roofing set a fair durability benchmark to measure any build against, whether it's a kit or something built board by board in your driveway.
Anchoring for Wind and Stability
Wind is the quiet structure-killer nobody plans for until a gust tips a bar over. Expansion bolts driven into concrete footings, rather than surface-set posts, give you real holding power in open or exposed yards. Anchoring should account for local wind loads, not a generic one-size template. Coastal and plains properties need deeper anchoring than a fenced suburban lot. It's a small step during install. Skipping it is how a nice bar becomes a pile of lumber after one storm.
Step-by-Step: What Each Build Actually Involves
DIY Build Sequence
Building from scratch means owning every step, start to finish. There's no shortcut here, and that's exactly why so many weekend projects stall halfway through fall.
- Draw up a plan that accounts for local setback rules, footing depth, and how the roofline will handle wind and snow load;
- Source lumber, fasteners, and roofing material, then double-check quantities so you're not making a second trip mid-project;
- Dig and set post holes, usually with concrete footings, which needs to cure before you can safely frame on top;
- Frame the structure square and plumb, since a slight lean at the base gets magnified by the time you reach the roofline;
- Install roofing and trim, then finish with sealant, stain, or paint to protect the wood from moisture and UV damage.
Realistically, that's several weekends of work for most homeowners, plus tool rental if you don't already own a post-hole digger or circular saw.
Delivered Tavern Sequence
A prefab route compresses that whole process into a handful of decisions. You pick the model and size, choose customizations like an adjusted roofline for a bigger TV or a different entry side, then schedule a delivery window. On installation day, crews handle assembly on-site, often within a couple of hours. From there, it's just accessories: shelving, lighting, a mini fridge, whatever completes the layout.
Both paths converge on the same finishing questions, though. Whether you built it board by board or watched it go up in an afternoon, you'll want to personalize the look, and painting packages or self-paint guidance cover that for either route. Plenty of homeowners browse modern outdoor bar ideas before settling on a stain color or trim scheme that matches the rest of the yard. And no matter which build method got you there, the space isn't done until you've stocked it: bottle openers, bar rail mats, a small grill or griddle setup, and enough seating for game day guests. That last stretch is where a bar actually starts feeling like a bar.
Final Verdict: Which Backyard Bar Build Should You Choose?
Quick Decision Checklist
If you've got weekends to spare, a garage full of tools, and a budget that needs to stay lean, building it yourself still makes sense. Following a solid DIY Outdoor Bar Plan can save real money if you already know your way around a miter saw and a level. This route rewards patience and punishes shortcuts. Be honest about how many free Saturdays you actually have before the framing lumber starts warping in the driveway.
Factory-built wins when speed and consistency matter more than saving a few hundred dollars. Nationwide delivery and same-day assembly mean no half-finished structure sitting under a tarp for three weekends straight. You're also buying predictability: engineered plans, matched materials, and a crew that's done this hundreds of times instead of once.
Reputation should carry real weight in your decision. A national TV feature, a 5.0 rating across dozens of reviews, and a full refund guarantee aren't just marketing gloss — they're evidence a company stands behind its work. Many local businesses can frame a bar; fewer can back it with that kind of track record.
Financing changes the math for buyers torn between the two paths. Spreading payments over time can close the gap between a DIY budget and a done-for-you build. That makes the factory option realistic even for first-time homeowners still furnishing the rest of the house.
Before you commit to a plan, it helps to be honest about which parts of the project you actually want to own: the slab or pavers, the wiring, the plumbing, the draft system, and the finish work all come from different trades, and each one adds its own timeline and permitting questions. Ask what your yard already gives you — a level surface, existing shade, a nearby pool or deck — and where the real gap is, because sometimes the missing piece is a full build and sometimes it's just a well-made structure to gather around. The clearer you are on that distinction, the easier it becomes to weigh what's worth hiring out, what can wait for next season, and what you'd genuinely use every weekend.